You can find the introduction to this course here
You can find Lesson 1 here
Lesson 2 is here
Lesson 3 is here
Lesson 4 is below:
Substack is an email/blogging platform that allows you to create blog entries and send them via email to an established mailing list.
How to get started with Substack
1. Create an account
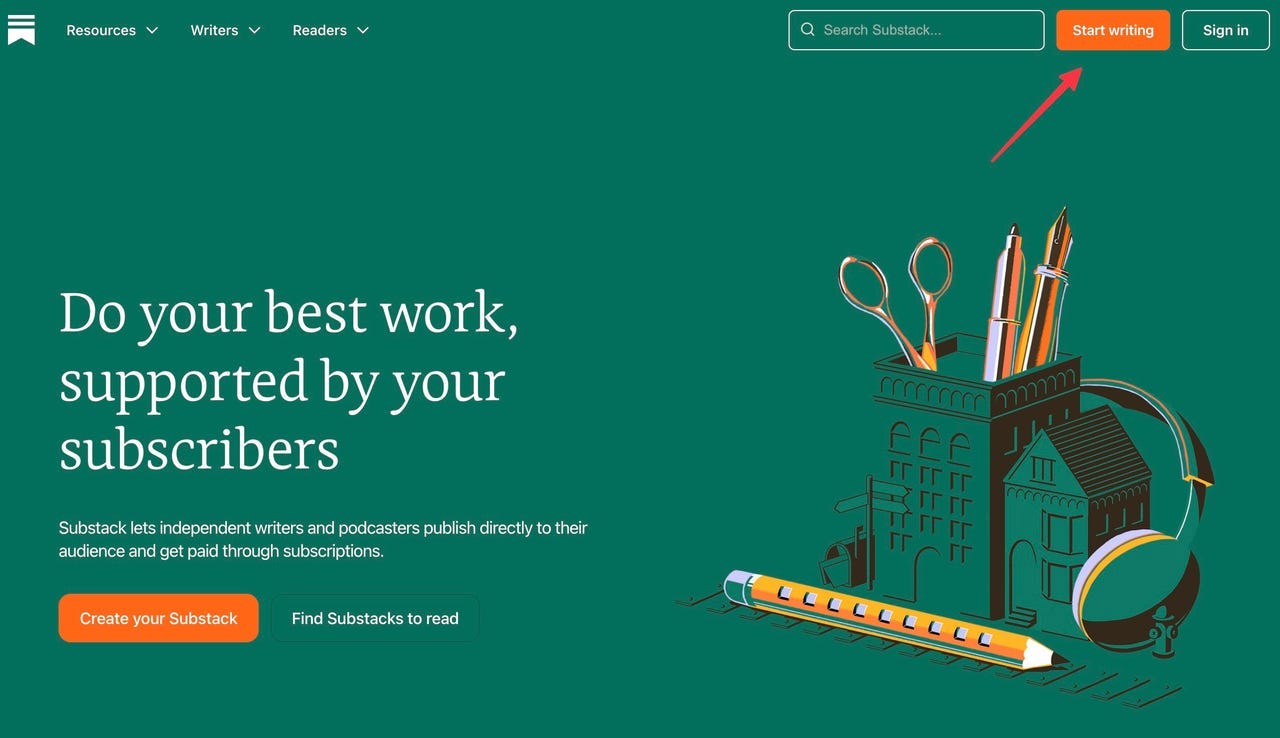
Your first step will be creating an account. Point your browser to Substack.com and click on the Start writing button.
Next, create an account. When you give them an email address, they send you an email message with a coded link to login. You can convert the account to a traditional email/password login later, if you want.
Next, you'll be asked to fill in your profile. All of this can be changed later.
After that, you'll be asked to give your publication a name.
There you go. Now, it's time to customize your newsletter.
2. Customize your newsletter
You can go to relatively considerable lengths to customize the look and feel of your Substack account and newsletter. I just wanted something simple, so customization was very straightforward.
Once your account is created, you'll be dropped into your main screen. This is what mine looked like right after I signed up:
Go ahead and click on the Dashboard button highlighted with the arrow. That will take you to the dashboard itself.
As you can see, there's a checkoff list that helps guide you through the steps you need to complete.
As you can see, there are a lot of options. Just work your way down them and you'll be all set. I customized my publication name, gave it a little description, uploaded a few graphics, and set up my About page.
I made my About page very simple, just describing what I planned to do with the newsletter.
3. Prepare your first newsletter
If you've ever made a post on Facebook, you're ready for Substack. It's that simple.
From the dashboard, click on New post.
By default, it will create a new text post, which will form the basis of the email you send out. But if you click the drop arrow, you can create and host other media types on Substack as well.
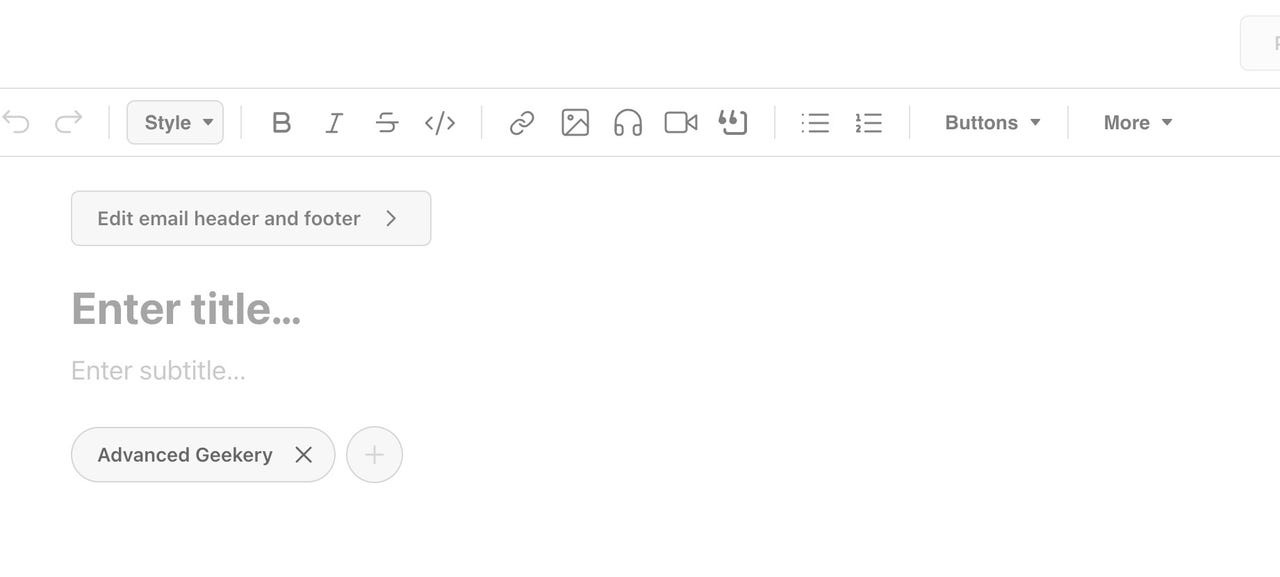
But we're going to make a simple post. Here's what the page looks like right after you hit New post.
Now, just write your post.
When you're done, you have a few options.
You can (1) modify your newsletter's settings for the post you're working on. Here, you can add tags, get a secret link to share your post before it goes live, and decide whether you want to allow comments.
Clicking (2) Preview lets you preview your post, both for mobile devices and desktop. This is a good thing to check out, because if you use something too wide, it will look terrible on smaller mobile screens. A five minute double-check can save a lot of embarrassment.
Finally, when you're ready to publish, press (3) Continue. That will present a subset of the Settings options shown in (1) above. More to the point, however, is the Send to everyone now button. Once you press that, your newsletter has been mailed.
Can I import my existing lists?
Yes, but Substack is fussy. They will only import lists where they can verify that all email addresses have previously opted in.
How does Substack make money?
The company takes 10% of subscription fees. It's, therefore, in the site's best interest to see that Substacks are successful, and drive subscription purchases.


